
Last Monday I came home exhausted.
Cross country training with my PE students in the morning. Two back to back private tuition sessions in the afternoon. By the time I walked through the door, the last thing I wanted to do was set up a board game or run an obstacle course in the living room.
But the kids were restless. Elliot was hovering. Julian and Ariel just wanted to be involved in whatever Elliot was doing.
So I said: “We’re doing experiments tonight.”
Elliot’s eyes lit up immediately — he’s partook in enough of my Science tuition experiments to know what that means. Julian and Ariel had absolutely no idea what was coming but they were already excited just from the word. Kids are funny like that.
I didn’t prep anything. No need to buy anything either. Just walked to the kitchen and started opening cabinets.
The thing about science experiments at home
I do private one-on-one science tuition, and some of the best moments I’ve had with my students happen when I demonstrate something with random household items instead of a textbook diagram. I aim to use whatever items my students will have at their home whenever possible to demonstrate that Science is part of everyday life.
A kid who has been staring blankly at a worksheet for twenty minutes will suddenly sit up straight when you pour vinegar into baking soda right in front of them.
That’s the thing about hands-on science. It doesn’t need a volcano kit. It doesn’t need a lab. It just needs stuff you already have and a willingness to make a small mess.
That said — if you happen to have a spring balance, some magnets, or a spare light bulb lying around at home like I do, even better. Those open up a whole other level of experimentation. But tonight we were working with what the kitchen had.
5 experiments we did that evening — everything from the kitchen
1. Baking soda + vinegar volcano
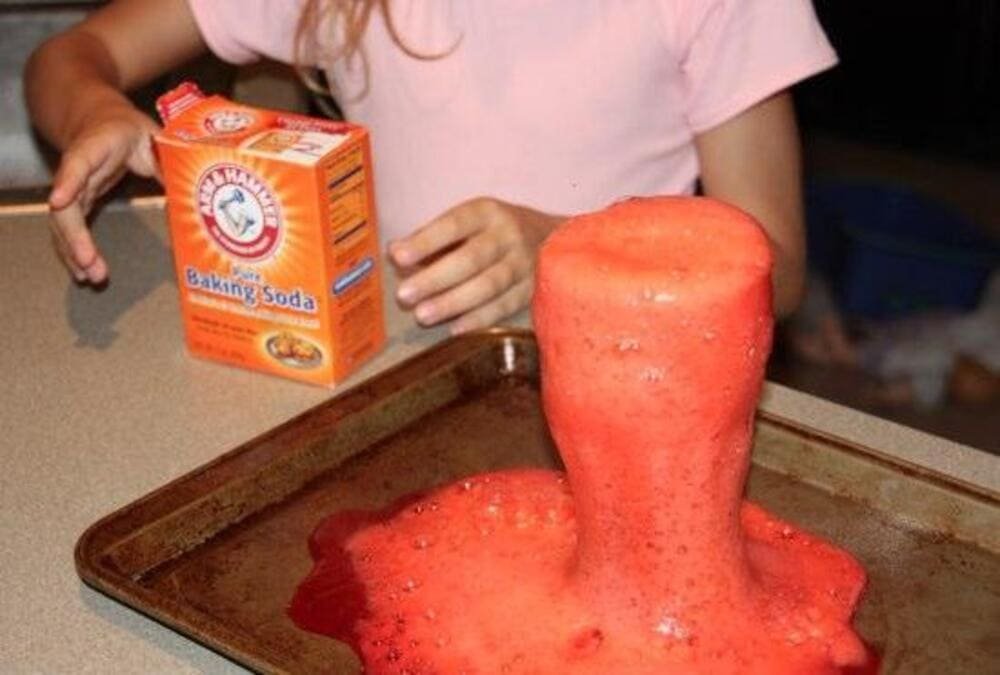
What you need: Baking soda, vinegar, any cup or bowl
What happens: Pour baking soda in first. Add vinegar. Watch it fizz, bubble, and overflow everywhere.
The actual science: Acid and base react to produce carbon dioxide gas. The fizz is the gas escaping.
How it went: Julian immediately tried to drink it. We had a brief chat about that. Ariel wanted to add more vinegar. We let her. Elliot started explaining the reaction to his siblings like he was the one doing the tuition. I let him. That’s actually a great sign — when a kid can teach it back, they’ve got it.
2. Floating egg test
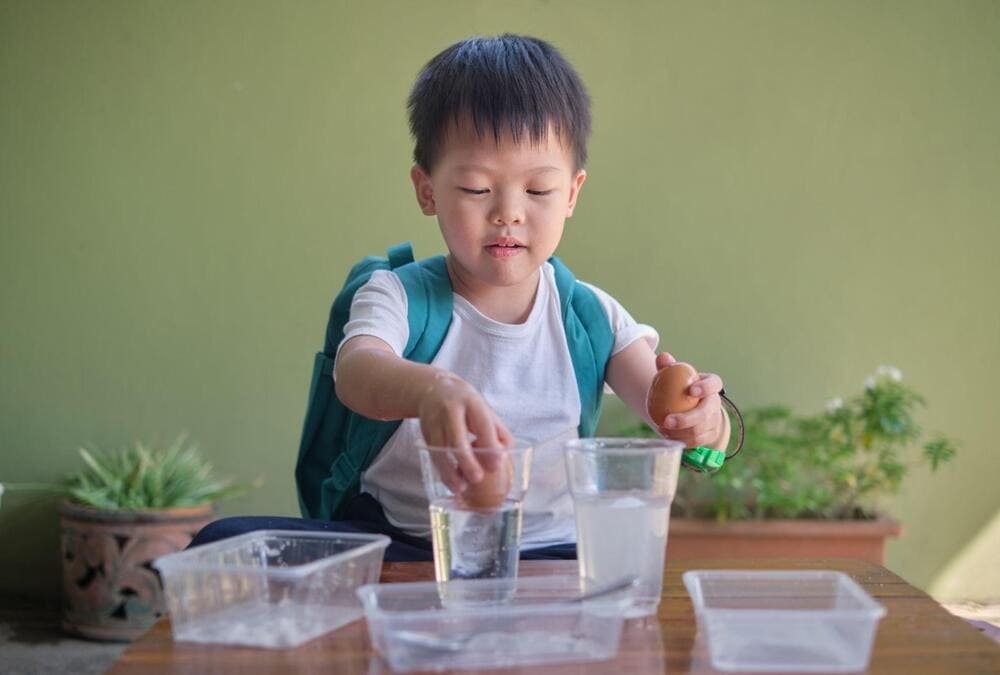
What you need: One egg, water, salt, a tall glass
What happens: Egg sinks in plain water. Keep adding salt and stirring — at some point the egg floats back up.
The actual science: Salt increases the density of water. More density means more upward force on the egg. Same reason floating in the sea at Sentosa is easier than floating in a swimming pool.
How it went: I use this one in actual tuition sessions to explain density and buoyancy. Works just as well at home. Elliot already knew why it happened which meant he spent the whole time smugly narrating for the twins. I’m choosing to call that educational.
3. Pepper and soap trick
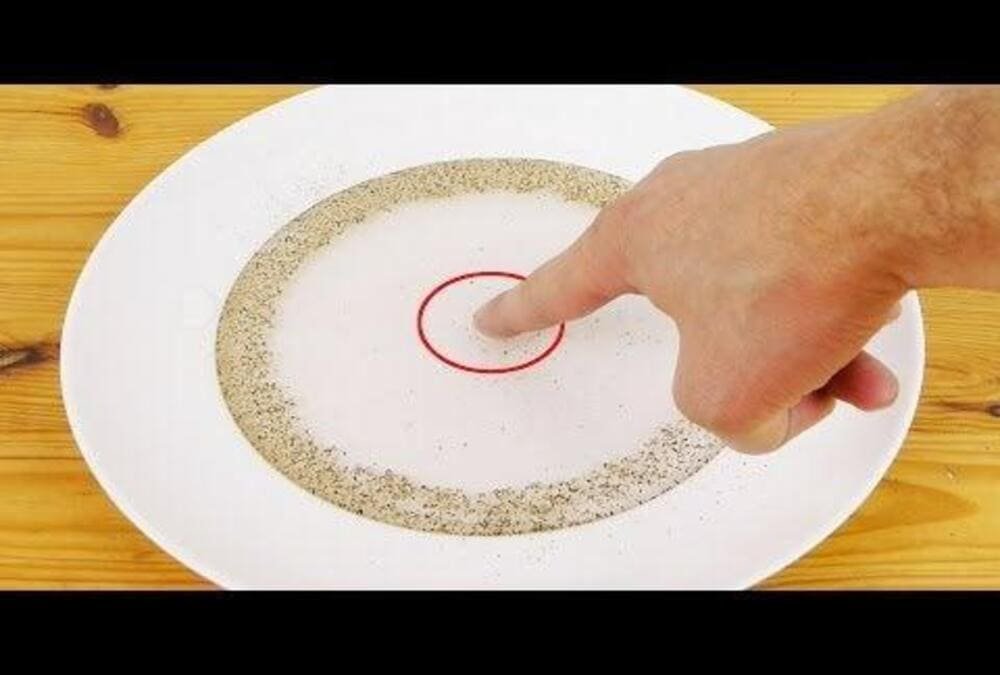
What you need: A bowl of water, ground pepper, dish soap
What happens: Sprinkle pepper on the water surface. Dip a fingertip in dish soap, then touch the center of the water. The pepper shoots to the edges instantly.
The actual science: Soap reduces surface tension. The pepper gets carried outward as the tension breaks.
How it went: Four seconds. Zero mess. Maximum reaction from all three kids. Even our helper came over to see what was happening. This is my favourite low-effort high-impact experiment. I use it to open tuition sessions sometimes — instant attention.
4. Ice + salt + string
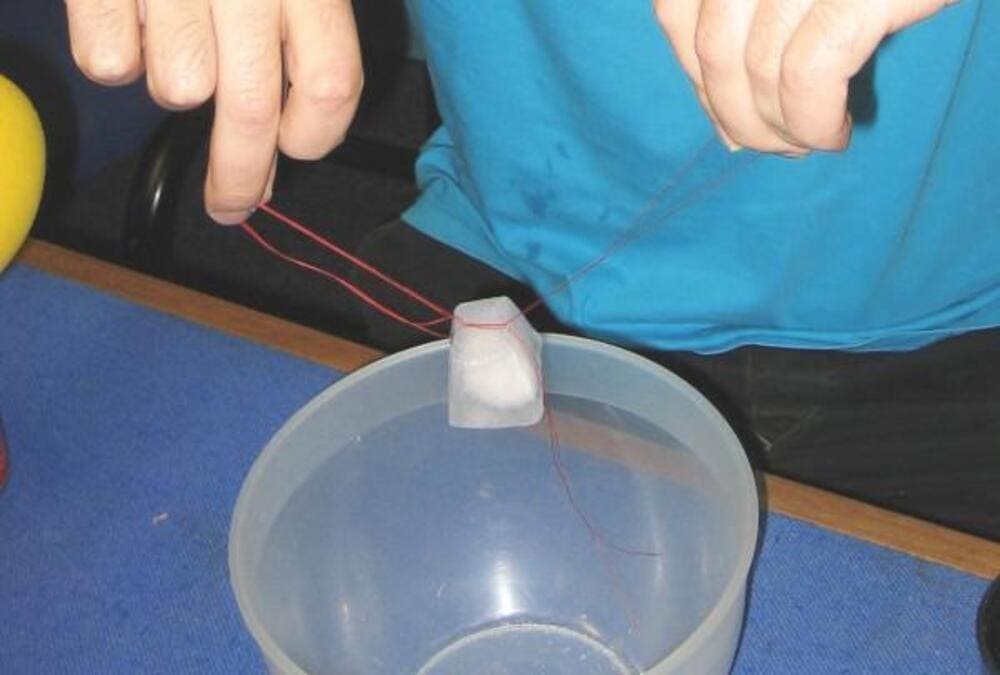
What you need: Ice cube, salt, a piece of string
What happens: Lay the string across the top of an ice cube. Sprinkle a little salt on it. Wait about thirty seconds. Lift the string — the ice cube comes with it.
The actual science: Salt briefly lowers the freezing point of the surface ice, melting it slightly. When the effect fades, the water refreezes and traps the string inside.
How it went: This one requires patience which is not Julian’s strong suit. He kept lifting the string too early. When it finally worked he looked genuinely offended that science had beaten him for three attempts before cooperating.
5. Balloon static electricity

What you need: One balloon, someone with hair
What happens: Blow up balloon. Rub it on your hair for ten seconds. It sticks to the wall. It picks up small scraps of paper. It makes everyone’s hair stand up if you hold it close enough.
The actual science: Rubbing transfers electrons from hair to balloon, creating a static charge. Opposite charges attract — the wall, the paper, and the hair all get pulled toward it.
How it went: Works best on Ariel because she has the most hair. I will keep saying this. She keeps being annoyed by it. That’s the deal.
You don’t need to explain everything perfectly
Half the time in tuition I say “let’s see what happens first, then we’ll figure out why.”
Observation before explanation. That’s actually good science practice — not just a way to buy yourself thirty seconds to remember the answer.
At home it’s even simpler. If they ask why and you genuinely don’t know, say “good question, let’s Google it.” That’s not a cop-out. That’s modeling intellectual curiosity, which sounds much better than admitting you forgot your secondary school chemistry.
Why this works on tired days specifically
I’m a PE teacher. I spend a lot of my week making kids run. By the time I get home from a long training day, I don’t have energy for physical activities with my own kids, though I try to.
Science experiments are the perfect low-energy parent, high-engagement kids activity. You’re mostly just watching. Maybe pouring something. Asking “what do you think will happen next?”
No setup. No equipment to buy. No cleaning up an obstacle course afterwards.
Just a kitchen, some curious kids, and a willingness to let things get a little fizzy.
If you have more equipment at home
If you happen to have magnets, a spring balance, or a simple circuit kit lying around — which I do, occupational hazard — you can go deeper. Magnets alone can keep kids busy for an hour with zero explanation needed. Just hand them over and watch.
But you don’t need any of that to start. The kitchen is enough.
More screen-free ideas that actually work:
Pingback: Simple Baking with Kids (Cute, Messy, and Worth It) — Screen Free Playtime